
How To
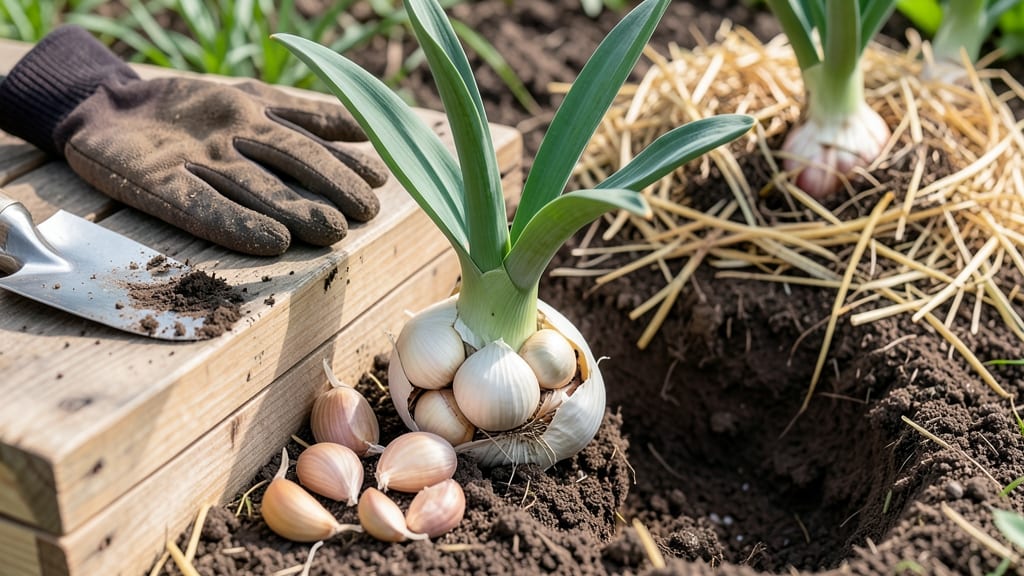
Planting garlic in the fall is your golden ticket to bigger, sweeter bulbs next summer—but get the timing wrong, and you’ll end up with weak, frost-bitten cloves. The key? Planting 4-6 weeks before your first frost, when soil temps dip below 60°F and stay cool through winter.
Whether you’re in USDA Zone 6a or further south, this window ensures your 🧄 thrives underground while avoiding early sprouting or winter heaving.
I’ve tested the best methods over the years, and the difference between a mediocre harvest and a bountiful one often comes down to two things: soil prep and planting depth. Too shallow, and your cloves freeze; too deep, and they rot.
Plus, the wrong mulch can smother your garlic or invite pests. Let’s break down the exact steps to plant garlic in fall—so you can enjoy plump, flavorful bulbs by next June.
What if you missed the ideal window? Don’t panic. I’ll also share how to adjust for late fall planting, what to do if frost hits early, and how to protect your garlic from common overwintering pitfalls.
By the end, you’ll know exactly when to plant, how deep to bury those cloves, and which varieties perform best in your region.
Ready to grow garlic that rivals the grocery store’s—without the markup? Let’s dive into the month-by-month guide that’ll turn your fall planting into next year’s kitchen staple.
Fall garlic planting timeline by month and US growing zones
Timing is everything when planting garlic in the fall—too early, and your cloves may sprout prematurely; too late, and they won’t establish roots before winter. The ideal window is 4–6 weeks before your first frost, when soil temperatures drop to 40–50°F.
This ensures roots grow but tops stay dormant until spring. Let’s break it down by USDA zones and months to avoid common mistakes.
For northern zones (3–5), aim for mid-October to early November. In zones 6–8, plant between late October and mid-November. Southern growers in zones 9–10 have a longer window—September to early November—but avoid planting after December 1st, as warm winters can trigger early sprouting.
Always check your local frost dates for precision.
Soil temperature is your best guide. Use a soil thermometer to confirm it’s below 60°F but above 40°F. If temps drop too fast, cover beds with straw mulch (4–6 inches) to insulate roots.
In cold climates (zones 3–4), add an extra layer of mulch or even a lightweight frost blanket for protection.
Here’s a month-by-month breakdown to help you plan:
| Zone | Ideal Planting Month | Soil Temp Threshold | Key Consideration |
|---|---|---|---|
| 3–4 | Mid-October | 40–50°F | Heavy mulch (6+ inches) required |
| 5–6 | Late October | 45–55°F | Use straw or leaves for insulation |
| 7–8 | November | 50–60°F | Avoid planting after Dec 1 |
| 9–10 | September–October | 55–65°F | Watch for early sprouting |
Pro tip: If you miss the fall window, you can plant garlic in early spring (March–April), but yields will be 30–50% smaller than fall-planted bulbs.
For best results, stick to the fall schedule and choose hardneck varieties for colder zones—they thrive in freezing temps and produce flavorful scapes in summer.
Regional adjustments matter. In Pacific Northwest (zone 7–9), plant by mid-November to avoid wet winters. In the Midwest (zone 5–6), aim for late October before soil freezes.
Southern growers in Texas or Florida (zone 8–10) can plant as late as December, but use shade cloth if temps rise above 70°F.
Don’t forget to test your soil pH (ideal: 6.0–7.0) before planting. Garlic hates soggy soil—amend heavy clay with compost or sand to improve drainage. If your area gets heavy snow, clear mulch after storms to prevent rot.
With the right timing and prep, your garlic will overwinter beautifully and reward you with bold, flavorful bulbs next summer.
For a visual reminder, bookmark this timeline or print it out. Hang it near your garden gate so you won’t forget the critical planting window. Next, we’ll cover the step-by-step planting process to ensure your garlic gets off to the best start.
Step-by-step guide to planting garlic for maximum yield
Planting garlic in the fall isn’t just about dropping cloves into soil—it’s about creating the perfect conditions for hardy roots to establish before winter. Start by selecting high-quality bulbs from a nursery, choosing hardneck varieties for colder climates or softneck for milder zones.
Break bulbs into individual cloves just before planting, ensuring each has a root base attached.
Prepare your soil by amending it with compost or aged manure to improve drainage and fertility. Garlic hates soggy soil, so raise beds if your area gets heavy rainfall.
Aim for a pH between 6.0 and 7.0—test your soil if unsure. Work in a handful of granular fertilizer (like 5-10-10) to give early growth a boost.
Place cloves 2 inches deep, 4-6 inches apart, with the pointy end up. Space rows 12 inches apart for easy maintenance.
Choose a full-sun spot (6+ hours daily). Avoid low areas where cold air pools or water collects.
Apply 4-6 inches of straw mulch after planting to insulate roots and prevent heaving (bulbs pushing out of soil).
Water deeply once planted, then reduce watering in winter. Resume in early spring when shoots emerge.
Cover beds with floating row covers in late winter to deter voles and rabbits, which love garlic greens.
After planting, mark your garlic beds with stakes or flags to avoid accidentally disturbing them in spring. Garlic is slow to emerge—don’t panic if you don’t see shoots until late winter or early spring.
Once growth starts, focus on weed control and light feeding (like fish emulsion) in early spring to fuel bulb development.
Harvest time arrives when lower leaves turn brown and upper leaves flatten—usually late June to early July. Use a fork to gently loosen soil around bulbs, then let them cure in a dry, shaded spot for 2-3 weeks before storing.
For long-term storage, braid hardneck varieties or hang them in a cool, dark place.
Pro tip: Save the largest, healthiest bulbs for next year’s planting. This ensures your garlic stays vigorous and disease-free over time. With the right fall prep, you’ll enjoy homegrown garlic that rivals store-bought—and tastes far superior! 🌱