
Plants
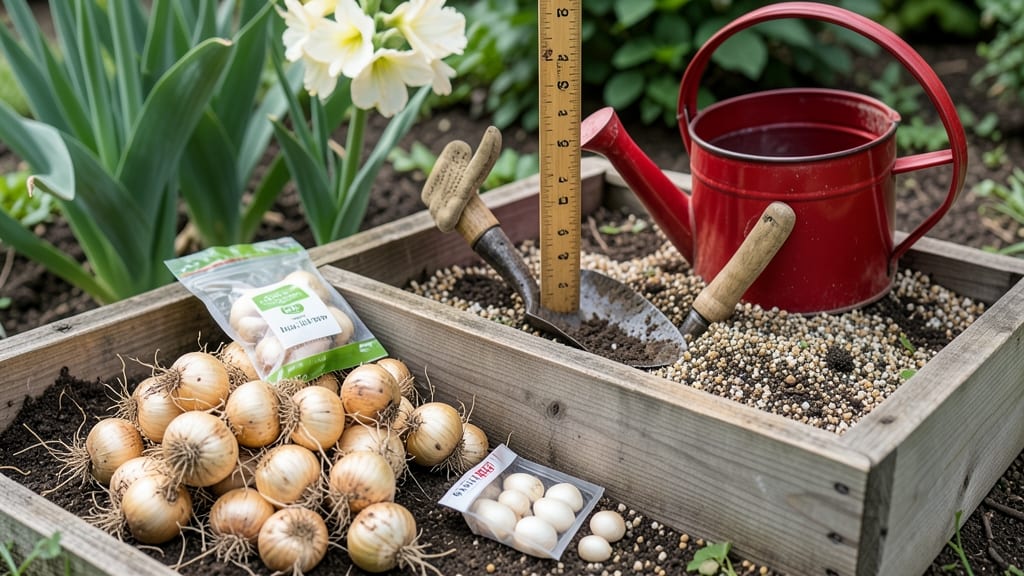
Timing your gladiolus bulbs perfectly ensures vibrant blooms that thrive in the UK’s unpredictable climate—but planting too early or late can spell disaster. Whether you're in sunny London or cooler Edinburgh, knowing the exact frost-free window is the key to success.
These stunning 🌸 gladiolus plants need warmth to establish strong roots, so getting the timing right makes all the difference.
Most UK gardeners plant between April and June, but regional variations matter. In southern areas, you can start as early as late March when soil temperatures rise above 10°C. Up north, wait until late May to avoid frost damage that could ruin your blooms.
The secret lies in watching for those first signs of spring warmth—when the soil is ready and the risk of frost has passed.
I’ll walk you through the exact steps to prepare your soil, choose the right planting depth, and care for your gladiolus after they’re in the ground. With the right timing and a little know-how, you’ll be rewarded with show-stopping summer flowers that brighten up any garden.
Let’s get those bulbs in the ground at just the right moment!
Don’t worry if you’re new to gardening—this guide breaks down everything you need to know, from soil tests to spacing tips. Whether you’re planting in containers or directly in the ground, these strategies will help your gladiolus thrive. Ready to transform your garden with these striking blooms? Let’s dive in!
UK gladiolus planting calendar by month: frost-free zone timing
Gladiolus bulbs thrive in the UK’s spring warmth, but timing is everything. Plant too early, and frost will damage tender shoots. Plant too late, and you’ll miss the summer bloom window.
The ideal window spans April to June, with regional adjustments for warmer southern areas versus cooler northern zones.
Southern England (e.g., London, Bristol) can start as early as late March if soil temperatures exceed 10°C (50°F). Meanwhile, Scotland and Northern Ireland should wait until mid-May to avoid frost risk. Always check your local last frost date—this is your planting deadline’s starting point.
🌱
| Month | UK Regions | Soil Temp | Action |
|---|---|---|---|
| March | South (e.g., Cornwall) | 10-12°C | Prep soil; plant hardy varieties |
| April | Midlands/South | 12-15°C | Plant bulbs 4-6 weeks post-frost |
| May | North (e.g., Yorkshire) | 10-13°C | Ideal for all regions |
| June | Scotland/NI | 10-12°C | Last chance for late bloomers |
| July | All regions | 15°C+ | Divide/cull spent bulbs |
🌡️ Pro Tip: Use a soil thermometer to confirm 10°C+ before planting.
For southern UK gardens, aim for early April plantings. In northern regions, wait until mid-May to ensure soil warmth. Gladiolus bulbs need 6+ hours of sunlight daily, so choose a south-facing spot with well-draining soil. Amend heavy clay with compost or grit to prevent waterlogging.
Plant bulbs 4-6 inches deep and 4-6 inches apart in rows. Space rows 12-18 inches apart for easy maintenance. After planting, water deeply to settle soil and encourage root growth. Mulch with straw or bark to retain moisture and suppress weeds.
💧
Monitor your garden for late frosts, which can occur until mid-May in some areas. If frost threatens, cover young shoots with fleece or cloches. Once established, gladiolus are frost-tolerant, but early shoots are vulnerable. Avoid planting in low-lying areas where cold air pools.
In container gardens, use large pots (12+ inches deep) with drainage holes. Plant bulbs in early May to align with outdoor planting windows. Containers warm up faster than ground soil, so adjust your timeline 1-2 weeks earlier than for in-ground planting.
🪴
After planting, feed gladiolus with a balanced fertilizer (10-10-10) every 4-6 weeks during the growing season. Reduce watering as blooms form to prevent flopping stems. Deadhead spent flowers to encourage longer bloom times and redirect energy to bulb storage for next year.
🌺
5 Critical signs your UK soil is ready for gladiolus bulbs
Gladiolus bulbs need warm soil and good drainage to thrive in the UK’s often damp climate. Planting too early in cold soil can stunt growth or invite rot. Here’s how to test your soil’s readiness before dropping those bulbs into the ground.
First, check the soil temperature. Gladiolus bulbs prefer soil that’s at least 10°C (50°F). Use a soil thermometer or press your hand into the ground—if it feels warm enough to hold comfortably for a few seconds, it’s ready.
In the UK, this usually aligns with late April to early June, depending on your region.
Next, assess drainage. Gladiolus bulbs rot in soggy soil. Dig a small hole, fill it with water, and wait. If water drains within 30 minutes, your soil is suitable.
If not, amend it with sand or compost to improve drainage. Waterlogged areas, common in the UK’s rainy seasons, can be fixed with raised beds or mounding soil.
- Soil temperature reaches 10°C (50°F) or warmer.
- Water drains within 30 minutes after filling a test hole.
- Soil feels crumbly and loose, not compacted or sticky.
- Pests like slugs are active (a good sign of warming soil).
- Local last frost date is at least 4-6 weeks behind you.
Another key sign is the activity of soil organisms. Healthy soil teems with worms and microbes. Turn over a small patch—if you spot earthworms or see ants moving, your soil is primed for planting. These creatures aerate the soil and boost nutrient availability, which gladiolus bulbs love.
For clay-heavy soils, common in parts of the UK, mix in organic matter like well-rotted manure or leaf mold. This improves structure and prevents waterlogging. A quick test: squeeze a handful of soil—if it forms a tight ball that doesn’t crumble easily, it’s too clay-heavy. Amend it before planting.
Finally, time your planting with the moon phase if you’re superstitious! While not scientifically proven, many UK gardeners swear by planting bulbs during the waxing moon (when the moon is growing) for better root development. Pair this with your soil checks, and you’re set for stunning gladiolus blooms by summer.
Once your soil passes these tests, it’s time to plant. Use a bulb planter or your finger to create holes 4-6 inches deep and 4-6 inches apart. Place bulbs with the pointy end up and cover with soil. Water deeply to settle everything in place.